Configuring Identity for Azure AD

Configuring Identity for Microsoft Azure AD
One of the most common federations used within identity management is Azure Active Directory. This allows users to log in to third party applications using their normal network credentials, i.e. the same one they use to log in to their PC.
There are several advantages to using this route including the fact that it reduces the burden of remembering different passwords and that when an Azure AD account is disabled, for instance someone leaves the organisation, their ability to log into services will also be removed.
To configure Azure AD integration for Identity, there are two key pieces of information required from Identity:
· Organisation reference
· Federation alias
This configuration route uses the Azure AD console and the Organisation Manager module within OneAdvanced’s MyWorkplace application to configure the federation. Therefore, you must ensure that you are set up as an Administrator in MyWorkplace. Contact OneAdvanced Support for help with this if required.
Organisation reference
This will be provided by OneAdvanced Support as will be in the format advanced-legal.
It can also be found in MyWorkplace Organisation Manager.

Federation alias
The federation alias is a value provided to Azure AD to allow it to connect to Identity for your organisation. It must be unique within an Organisation but can be repeated across different Organisations.
For use with Azure, it is suggested that azuread is used as the federation alias in order to avoid confusion, but any value can be used so long as it has fewer than 30 characters and only contains lower case letters and hyphens.
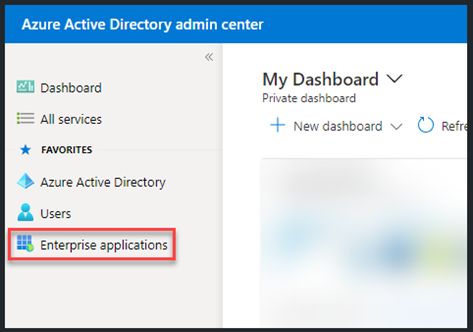
Create a new Enterprise Application
- From the Azure Active Directory admin centre, select Enterprise Applications
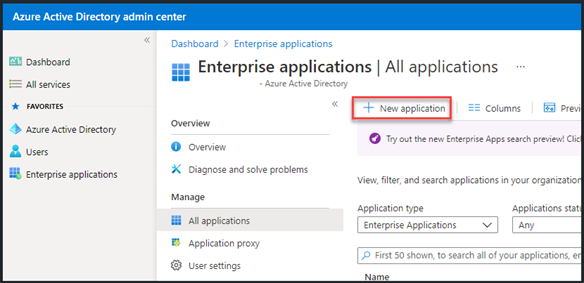
- Select New Application
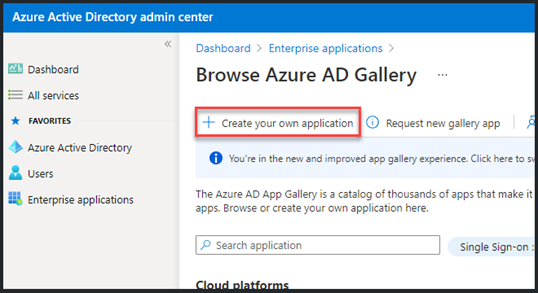
- Choose Create your own application
- Provide a descriptive name and select Integrate and other application you don’t find in the gallery (Non-gallery)
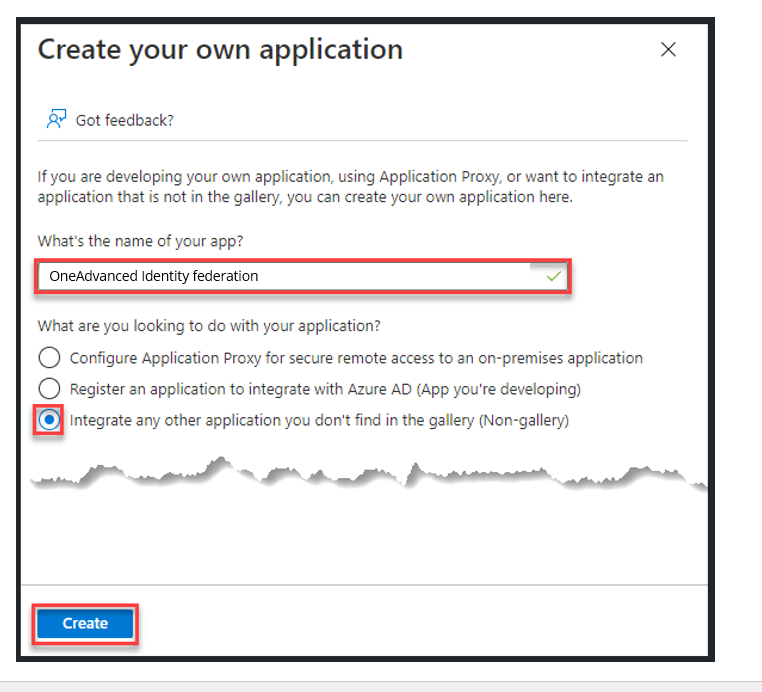
- Click Create
Configure Single Sign-on
The newly created Enterprise Application will now show.
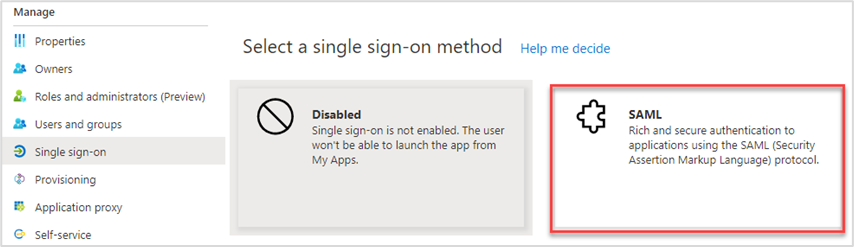
- Choose Single sign-on from the menu

- Select SAML
- Choose Edit in Basic SAML Configuration
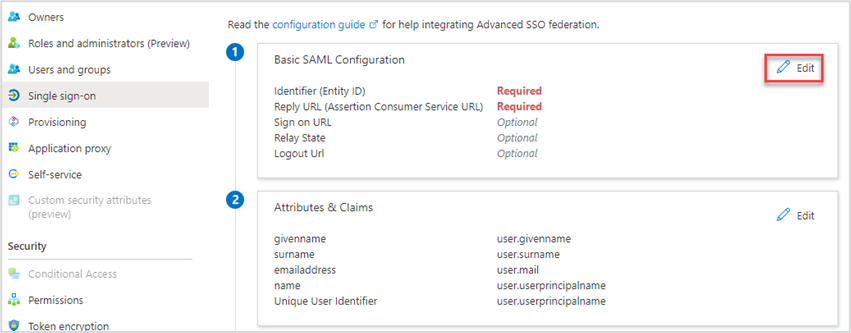
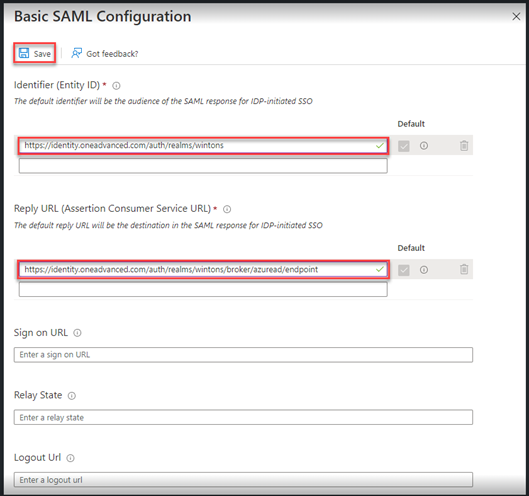
- Enter the Identifier (Entity ID) and Reply URL (Assertion Consumer Service URL) in the Basic Configuration dialogue – these will be provided to you by OneAdvanced Support.
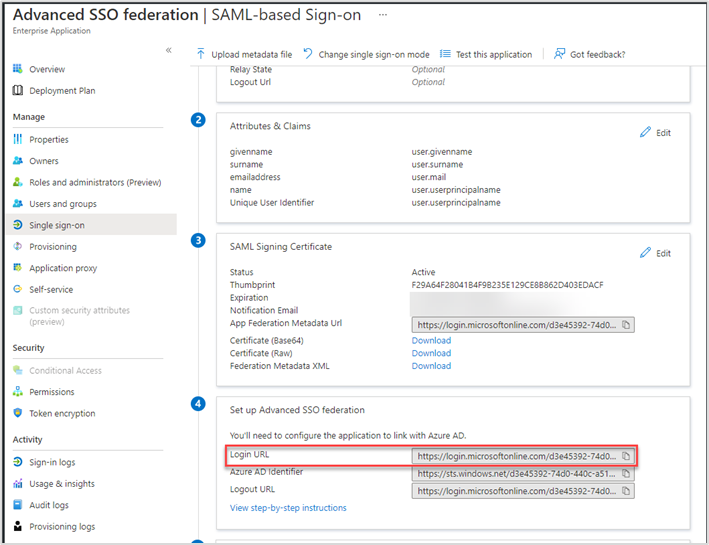
Set the Single Sign-on service URL
- In the Set up Identity federation section, copy the Login URL – you will require this in section 3.
Grant access to users
- From the Enterprise application screen, select Users and Groups
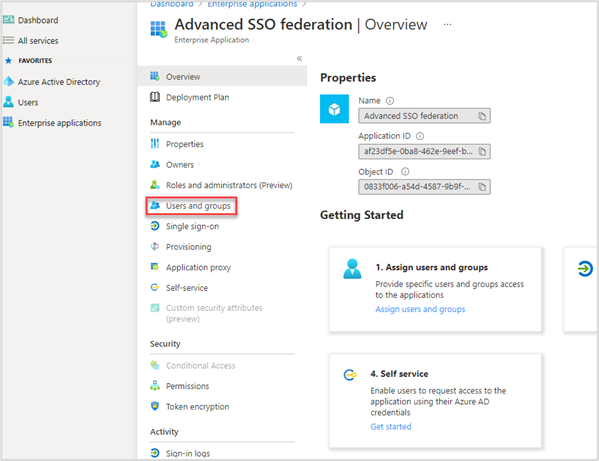
- Select Add user/group
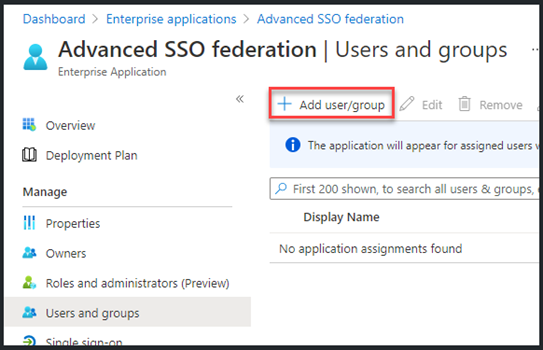
- Search and select the users or groups who you would like to be able use Identity