Configuring Identity for Entra ID

Configuring Identity with Entra ID
This guide will take you through the steps required to setting up a federation between OneAdvanced Identity (single sign-on) and Entra ID (formerly Azure AD) via the MyWorkplace platform. It is intended for use by Customer Administrators who will have the required permissions to follow the steps correctly.
You may need the help of your IT team to help set up an Enterprise application in Entra ID.
From Entra ID you will need the following for Identity configuration:
• Login URL
• Entra ID Certificate as a Base64 string
From Identity (MyWorkplace) you will need:
• Organisation reference
• Federation alias
• Identity URL
Organisation reference
This will be provided by OneAdvanced Support and be in the format advanced-legal.
It can also be found in MyWorkplace Organisation Manager which you will get access to as part of onboarding to Legal Forms.

Alias
The Alias is a value provided to Entra ID from Identity to allow it to connect to Identity for your organisation. It must be unique within an Organisation but can be repeated across different Organisations.
For use with Entra ID, it is suggested that entraid is used as the alias in order to avoid confusion, but any value can be used so long as it has fewer than 30 characters and only contains lower case letters.
Create a new Entra ID Enterprise Application
- Open the Microsoft Entra ID admin centre as an Administrator
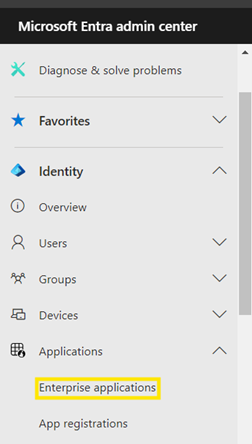
- Select Identity | Applications | Enterprise applications
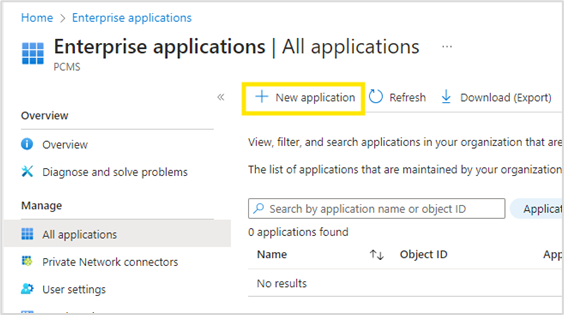
- In All applications, select New Application
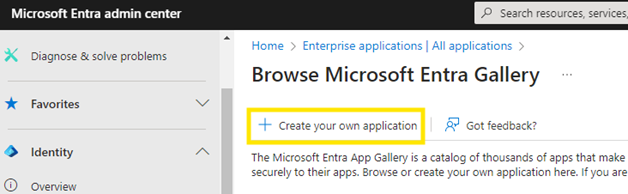
- Select Create your own application
- Provide a descriptive name e.g. OneAdvanced Identity
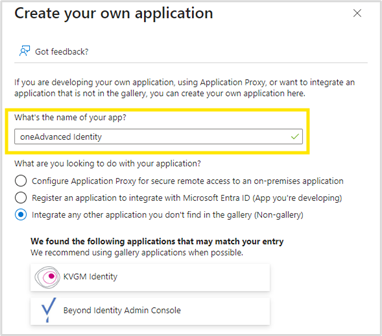
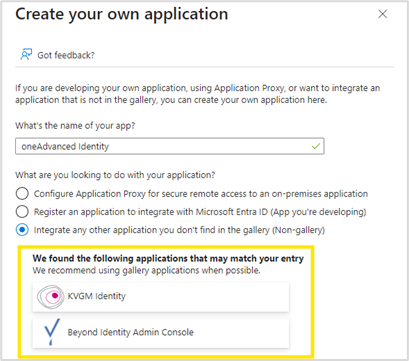
- Ignore any suggestions made by Entra ID as below
- Ensure the default option for Integrate any other application you don’t find in the gallery is selected
- Select Create
You will be now taken to the new Enterprise application e.g. OneAdvanced Identity
Configure Single Sign-on
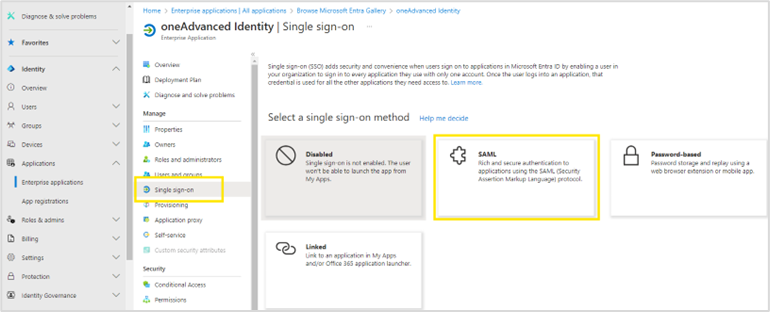
- From this window, select Single sign-on followed by SAML
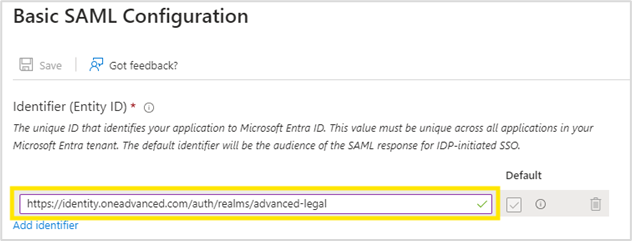
- In Step1 - Basic SAML Configuration, select Edit
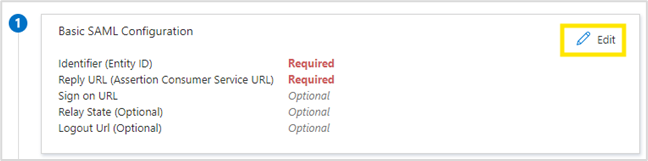
- Enter your Identifier (Entity ID) which will be provided by OneAdvanced Support
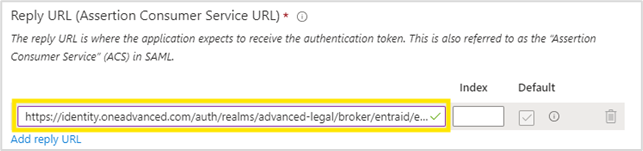
- Enter your Reply URL which will again be provided by OneAdvanced Support
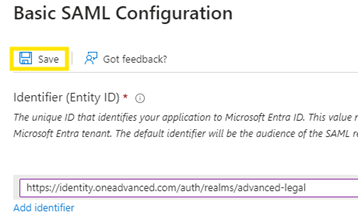
- Select Save
- Go to Step 4 – Set up OneAdvanced Identity
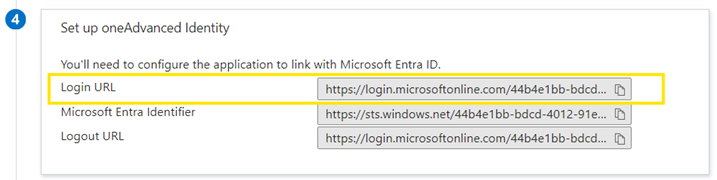
- Copy the Login URL – this will be needed in Organisation Manager
SAML Certificates
You now need to download the Base 64 Certificate.
- Scroll down to Step 3 – SAML Certificates
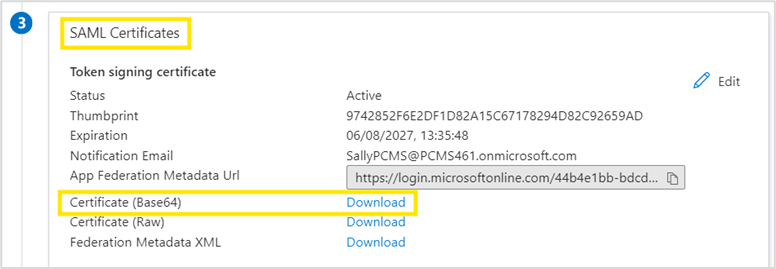
- Select Download next to Certificate (Base64)
- Navigate to the folder where the certificate was saved
- Right click the file and open with Notepad ++ - you should see something to below
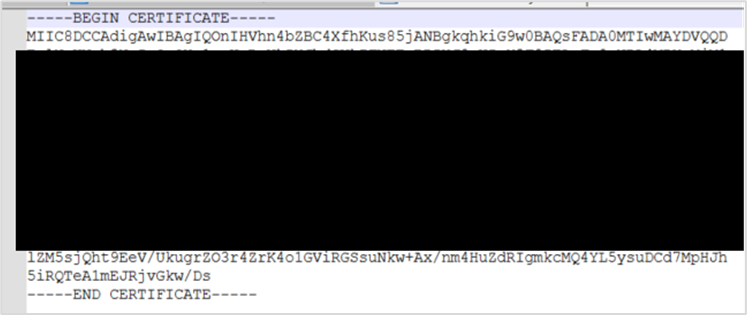
- Remove all the text on the BEGIN CERTIFICATE and END CERTIFICATE lines
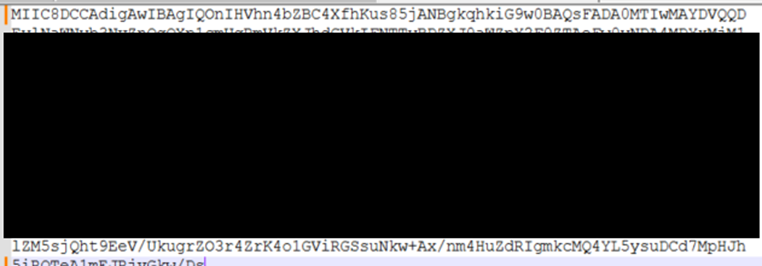
- Save this as a text file as you will need it later
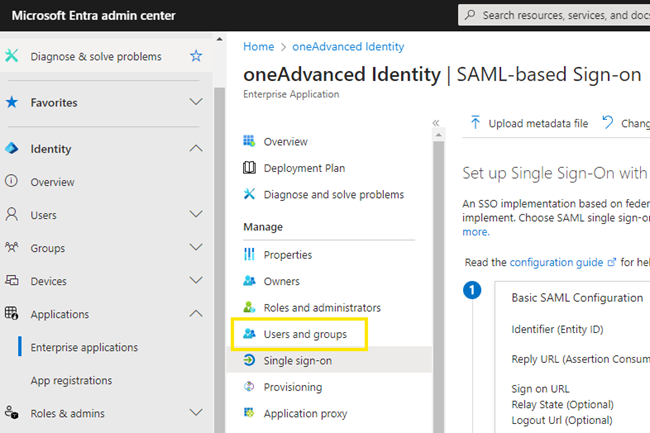
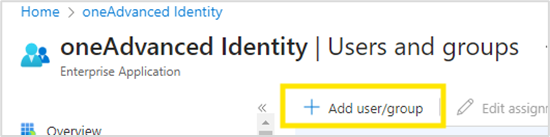
Grant Access to Users
- Select Users and Groups
- Select Add user/group
- Search and select the users or groups who you would like to be able use Identity
- Assign the users or groups
Configuring Entra ID with Identity
Before you can finish the configuration between Entra ID and Identity, you will need to create a password and set up multi-factor authentication in order to access Organisation Manager in MyWorkplace.
Setting a password and MFA for the first time
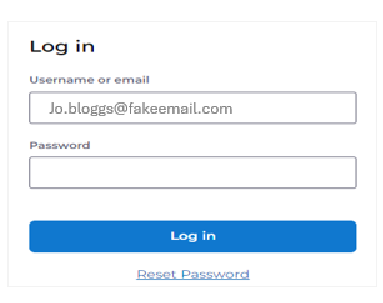
- Go to http://myworkplace.oneadvanced.com
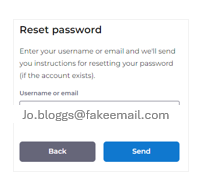
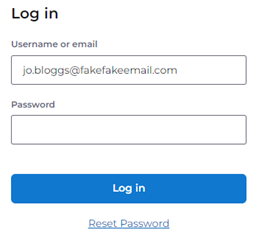
- For the first time, Users MUST set a password by entering their email address and clicking Reset Password
- Re-enter you email address and click Send
- An email will be sent with a Change Password link which is only valid for 30 minutes
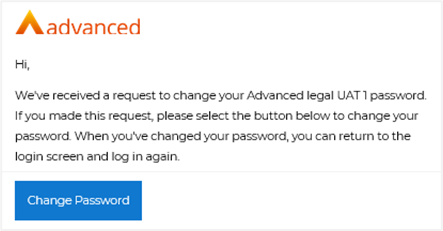
- Click on the Change Password link which will take you to the multi-factor authentication page
- Follow the on-screen instructions – see here for Authenticator app examples
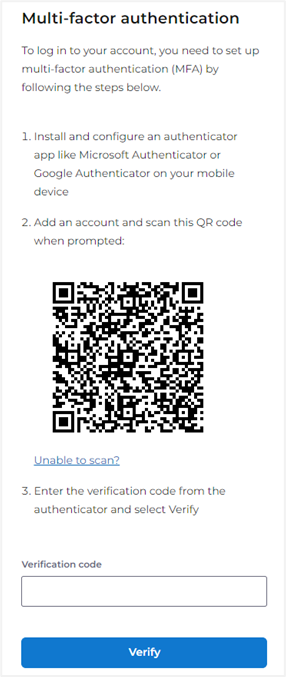
- Once you have set up the Authenticator app, enter in the Verification code supplied by the app in your browser
- Enter the verification code shown in the app into your browser
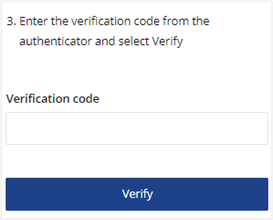
- Click Verify
- Enter a new password which must be a minimum of 14 characters

- Confirm your password and click Save
Log in to MyWorkplace
- Open MyWorkplace - http://myworkplace.oneadvanced.com
- Enter your email address and click Continue
- If requested, select your Organisation
- Enter your newly created password and click Log in
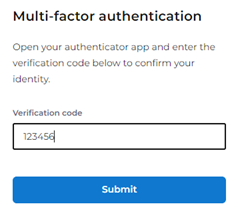
- Enter the Verification code from the authenticator app
Federating Entra ID with Organisation Manager
- In MyWorkplace, go to Apps | System Settings | Organisations
- Click on the green Edit button adjacent to your organisation

- Select the Single sign-on tab
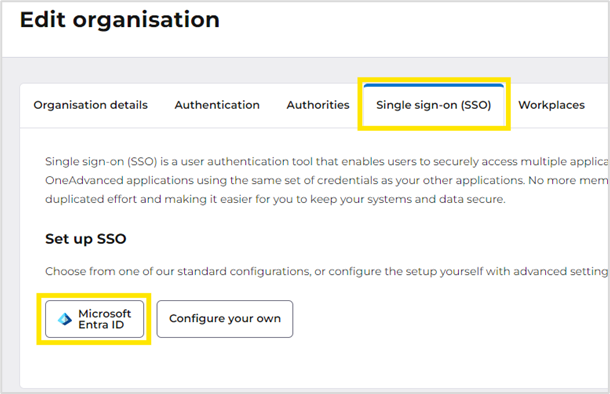
- Select Microsoft Entra ID and complete the following fields

- You will need to complete the following fields
Name | Entra ID | The name visible to users if they have the choice of SSO or Username and password |
Alias | entraid | This was used in the Entra ID Reply URL set up earlier |
Login URL | https://login.microsoftonline.com345ukehfhi | This is the URL that was copied from Entra ID |
Certificate | MIIC8DCCAdigAwIBAgIQOnIHVhn4bZBC4Xfjg | The text copied from the text file saved from Entra ID |
- Click Create
- You will see Single sign-on with Entra ID
Configure Entra ID in Organisation Manager
Provider tab
- From the above screen, select Configure
- On the Provider tab, update the following values
First Login Flow | Automatic pairing | This will automatically pair Identity User with Entra Id user |
GUI Order | 1 | If more than one SSO is in use, then this dictates the order. Can be left blank. |
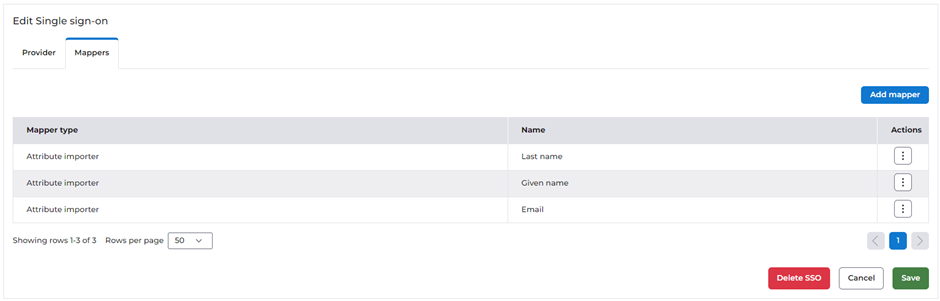
Mappers
- On the Mappers tab, add the following mappings
Name | Mapper type | Attribute name | Friendly name | User attribute name |
Last name | Attribute importer | http://schemas.xmlsoap.org/ws/2005/05/identity/claims/surname | Last name | lastName |
Given name | Attribute importer | http://schemas.xmlsoap.org/ws/2005/05/identity/claims/givenname | Given Name | firstName |
Attribute importer | http://schemas.xmlsoap.org/ws/2005/05/identity/claims/emailaddress |
Testing the Solution
In order to test the solution, you can now go through the login process through MyWorkplace.
- Go to https://myworkplace.oneadvanced.com

- Select Entra ID and you should be routed your Entra ID which will allow you to login with your network credentials